Fixing or Replacing a Pop-Up Sink Plug: A Guide for Bathroom Basin Functionality Restoration
In this guide, we will walk you through the process of fixing or replacing a pop-up sink plug. Pop-up sink plugs, while offering convenience, have more moving parts than regular sink plugs and are more prone to problems.
Steps to Fix or Replace a Pop-Up Sink Plug
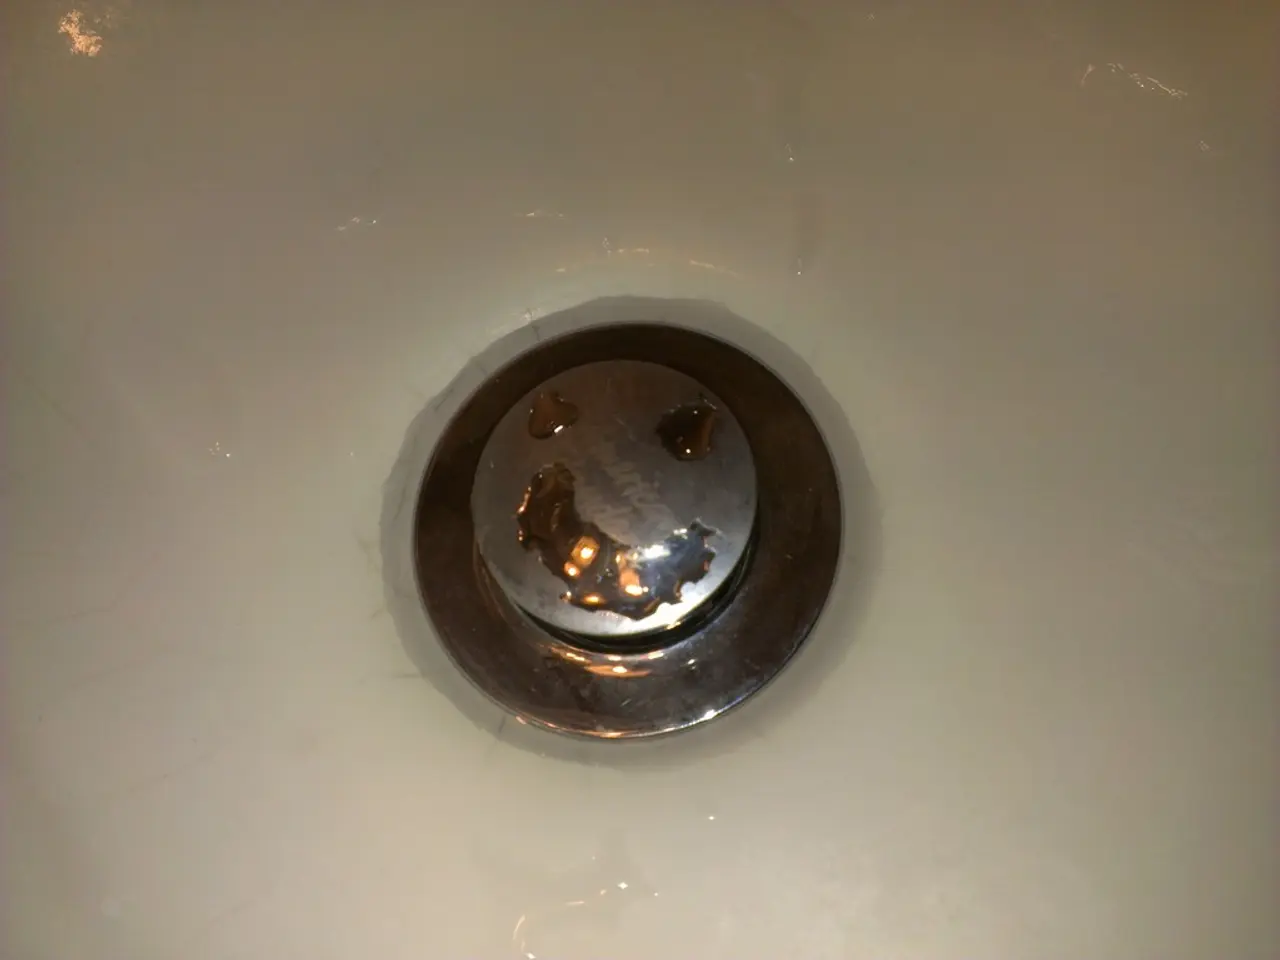
- Remove the Stopper
- Twist and pull the pop-up stopper out by hand. If it's stuck, loosen the linkage under the sink to free it.
- Clean the Stopper and Drain Opening
- Thoroughly clean debris, hair, and soap scum from both the stopper and drain opening to ensure smooth operation.
- Inspect Seals and Washers
- Check the rubber seal on the stopper for wear or cracks; replace if damaged.
- Remove and Reinstall Drain Assembly (if needed)
- Loosen the nut below the sink holding the drain assembly using channel lock pliers or an adjustable wrench.
- Apply plumber’s putty or silicone to the flange before tightening the nut to ensure a watertight seal.
- Avoid overtightening when reinstalling.
- Adjust Linkage Mechanism
- Ensure the pivot rod and lift arm connect properly and move freely to operate the pop-up stopper.
- Tighten or realign as necessary to prevent the stopper from sticking or failing to seal.
- Test for Leaks
- Run water and check for leaks; tighten connections or adjust seals as needed.
Common Reasons for Failure
- Stuck Stopper caused by buildup of grime, hair, or soap scum.
- Worn rubber seal or gasket on the stopper, causing poor sealing and leaks.
- Faulty or misaligned linkage in the pop-up mechanism, preventing proper opening or closing.
- Loose or overtightened drain assembly nuts, leading to leaks or mechanical issues.
Replacing the entire pop-up drain assembly may be necessary if parts are broken or badly corroded.
This process typically requires simple hand tools like pliers, an adjustable wrench, and sometimes plumber’s putty or silicone sealant for installation. For persistent issues or complex plumbing, consulting a professional plumber is advised.
Before replacing the plug, shut off the water supply. Cleaning a pop-up plug every few months can help keep it working longer.
For click clack pop-up plugs, the plug unit is screwed into the drain cover and tested. A specialized wrench and a black pop-up sink plug are suggested for fixing or replacing a pop-up sink plug.
In hard water areas, limescale can accumulate around the mechanism, making it harder to operate.
This guide has been outlined by Jess Thomas.
- To keep your pop-up sink plug working smoothly, consider cleaning it every few months.
- Homeowners looking for ideas to improve their home's lifestyle might find it useful to learn about the process of fixing or replacing a pop-up sink plug.
- While working on your home-and-garden tasks, don't forget to include checking and maintaining the condition of your sink drain assemblies.
- When building or renovating a bathroom, it's essential to choose a flooring that withstands moisture and regular water exposure, like vinyl or ceramic tile.
- A specialized wrench is a necessary tool for fixing or replacing a click clack pop-up sink plug.


