Creating a Chalkboard Step-by-Step
=====================================================================================
In the heart of every child, and perhaps in many adults too, lies a spark of creativity. This article will guide you through transforming your backyard into a haven for artistic expression and learning, featuring a DIY outdoor chalkboard, a vertical planter project, and a revamped back patio.
Building Your Own Outdoor Chalkboard
To create a chalkboard similar to the ones you see in popular posts, you'll need to construct a wooden frame and apply a chalkboard surface. Here's a reliable method for building your own:
- Frame Construction: Utilise treated timber or scrap wood to assemble a rectangular frame. The size is entirely up to your preference. Cut the wood pieces to the desired dimensions, drill pilot holes to prevent splitting, and secure them together with wood screws. Optionally, add a back panel for stability, leaving space for mounting or standing support.
- Preparing the Chalkboard Surface: Select a smooth board such as plywood or MDF cut to the size of your frame. For outdoor use, consider weather-resistant materials or sealants.
- Applying Chalkboard Paint: Paint the board with outdoor chalkboard paint or use a homemade chalk paint, such as a cornstarch-based sidewalk chalk paint, if you want a temporary, washable surface suited for children’s play. Alternatively, use commercial chalk paint kits for vibrant, reusable paint.
- Attaching the Chalkboard Surface: Once the paint or coating is dry, fix the chalkboard panel inside the wooden frame using screws or brackets.
- Finishing Touches: Optionally, add a shelf or tray below the chalkboard to hold chalk and erasers. Mount the chalkboard on an outdoor wall or create a freestanding easel frame.
A Spark of Creativity
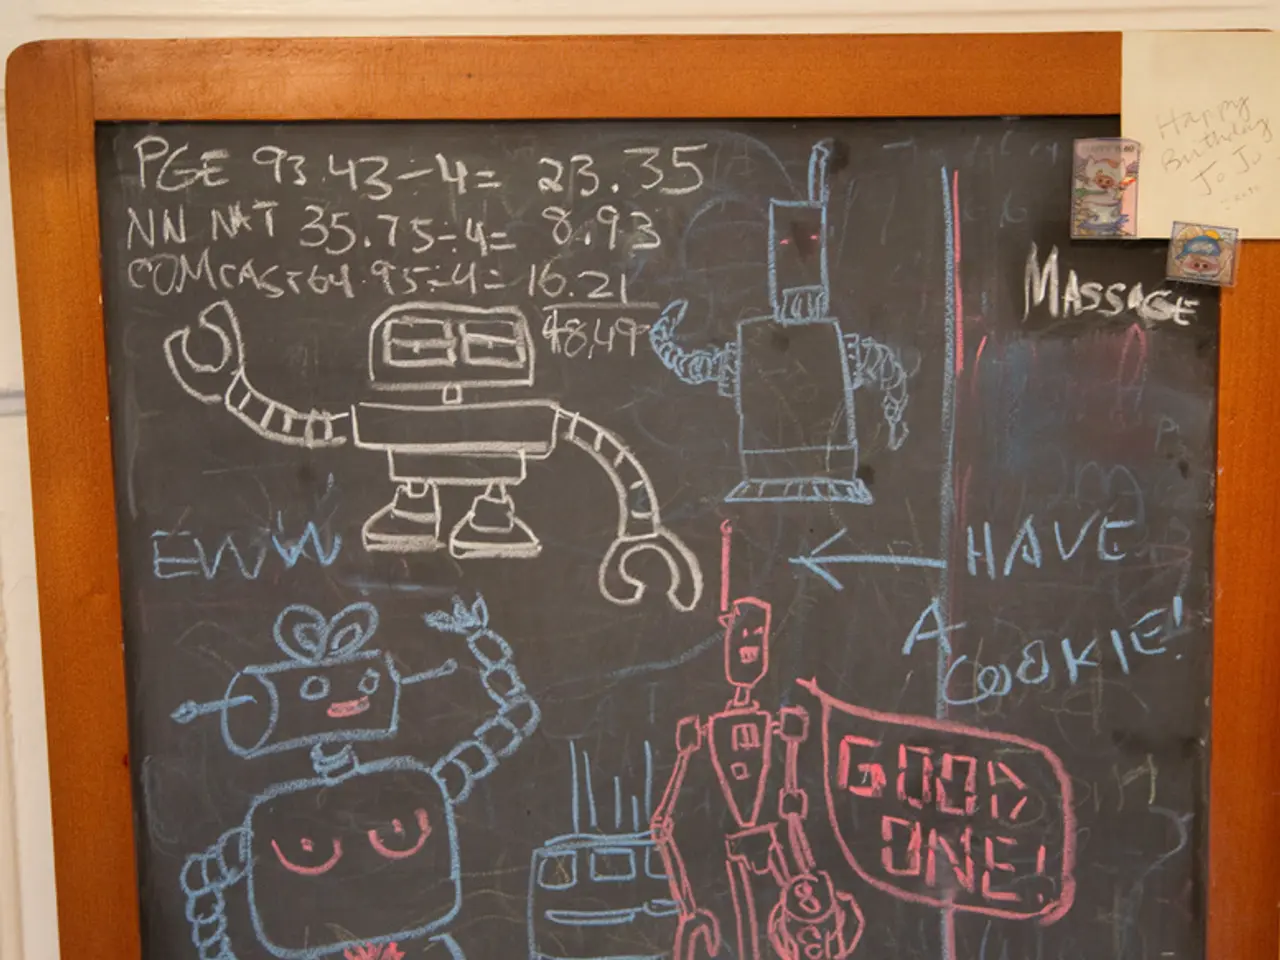
The giant outdoor chalkboard has been a part of the backyard since 2015 and has proven to be a great spot for eating healthy snacks, such as Wonderful Halo mandarins. It has also been a learning tool for the children, with letters and numbers being drawn on it. The chalkboard was originally used as a giant word search backdrop at an SXSW event in 2015.
A Greener Backyard
The vertical planter project was added to the backyard, which included the addition of rocks. The rocks have been well-received by the children. The back patio underwent changes, including the removal of bushes, painting of patio furniture, and the addition of a tire sandbox and chalkboard fence.
A New Look for the Backyard
The white benches were moved to the rocks, and the kid's picnic table was centered between the benches for outdoor snacking. The chalkboard was moved to the middle of the fence, and it is now 19 feet long, made from three pieces of plywood. A chalk holder can be made by routing a channel out of a 4x4 cedar post with a 1/2 inch router and attaching it to the bottom of the chalkboard from the neighbour's side of the fence.
For a more detailed guide on frame assembly, woodworking steps, and tips, videos and tutorials like the mud kitchen build can offer valuable guidance. To make chalk paint, recipes using cornstarch and water are straightforward and kid-friendly, while purchased kits offer vibrant, reusable colors and tools for stenciling and outlining.
Remember to re-paint the chalkboard once a year to ensure it remains in top condition for your family's creative pursuits. Enjoy transforming your backyard into a haven for artistic expression and learning!
- After transforming the backyard into a creative space, the family began enjoying their meals at the kid's picnic table, placed between white benches, while the giant outdoor chalkboard, now 19 feet long and hung on the fence, provided an exciting home-and-garden lifestyle activity for artistic expression and learning.
- To complement the DIY outdoor chalkboard project, the backyard was further enhanced with a vertical planter and a revamped back patio, offering a lifestyle fusion of home-and-garden designs that catered to the family's creative needs.


